---
config:
  look: handDrawn
  theme: neutral
  layout: dagre
---
flowchart LR
    A("dev") --> B("qa")
    B --> C("main")
    C -.-> D("release")
    style D stroke-width:4px,stroke-dasharray: 5
Introduction
This is the first of a series of posts on creating a basic Python package and publishing it on PyPI.
The essential steps are:
- Writing the code
- Building the package
- Uploading to PyPI
There are some other options that I’ll cover too, which will help manage the project as it grows in future, and allow other people to use it. These include setting up the development workstation, using a GitHub repository, writing unit tests, generating documentation with Sphinx and managing dependencies.
There are lots of great tutorials for the individual tools already (which I’ll link to later), but I thought an overview of how to fit everything together would be useful.
In the next few posts, I’ll cover the initial setup of the project through to the first release. I’ll then demonstrate a simple workflow for iterative development and future releases.
I’ll be setting up my own project (pydatk) during these posts. You can download a zip file containing the code for the first version of my project from GitHub.
For this series of posts I’ll be using:
- Python 3.13
- Ubuntu 24.04.2 LTS
- VS Code 1.100.3
- Other tools as mentioned in the text.
Creating a GitHub repo
I use GitHub for managing my code. For this project I’ll setup a new repository via the GitHub website.
In the new repository menu, I’ll create a public repo with these default files:
.gitignoreLICENSEREADME.md
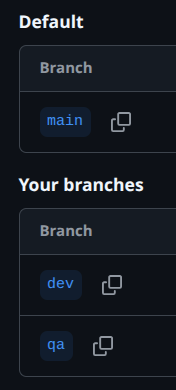
I’ll create two new branches to manage release stages, as well as keeping the default main branch, which will be for build/production code:
devfor development code and initial testing.qafor code that is ready for testing.
During release, the code moves through the environments until it is ready to be packaged in the main (build) branch:
I have four separate environments on my workstation with separate virtual machines, file storage and git repos:
- dev
- qa
- build - this is a copy of the
mainbranch for building the package - prod - this is a production environment. I don’t have a git repository in this environment; I install the package from PyPI with
pip.
In a more complex project with multiple team members it’s common to have other branches. A hotfix branch can be used for urgent bugfixes without waiting for other code to be ready. For “big” changes that are separate from other work (e.g. a new module in its own file), a separate branch can be used. Merging can get quite complicated with multiple concurrent branches so I’m keeping it simple.
This is what my initial branches look like in GitHub:
Discussions
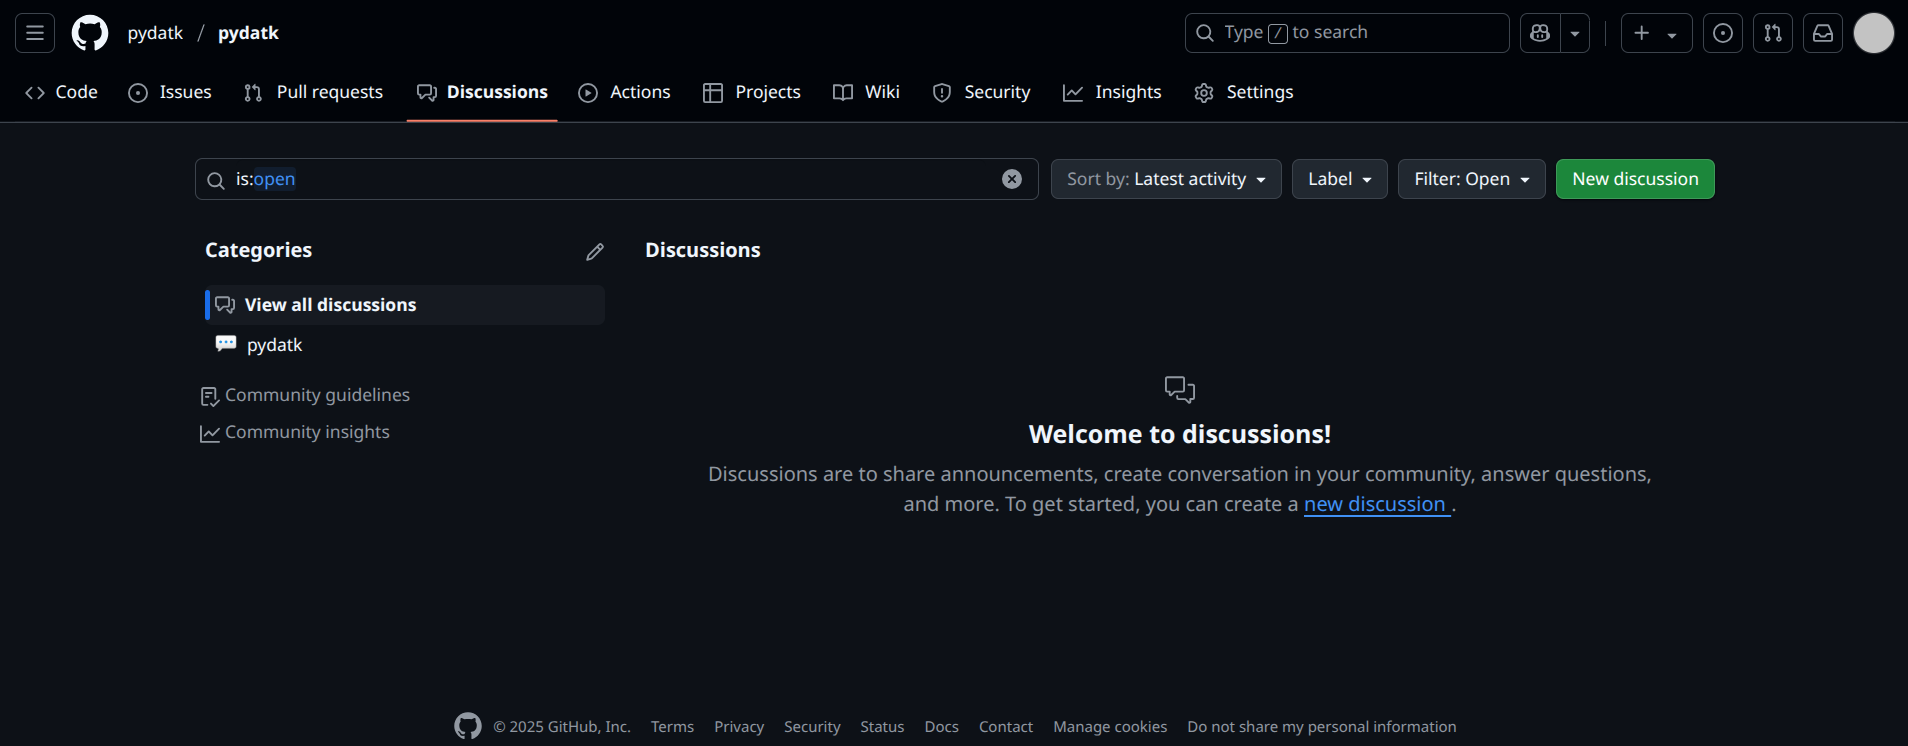
I’ll enable discussions via the repo settings, for any questions or feedback. I’ll delete all the automatic topics for a clean layout.
If you want to try this out, let me know how you’re finding this post in the website discussions.
Issues
I’ll also enable issues, to separate them from discussions.
The default issue looks like this:
I’ll create a custom issue template later in the Bug report section.
Package setup
For a detailed guide to setting up a project, this is what I follow: Packaging Python Projects.
Firstly, I’ll clone the dev branch and create some new directories in the repo root:
srcsrc/pydatk- this is where the new package code lives.tests- this is for unit tests (more on that in a future post).
I’ll also create the following blank files, which I’ll finish later:
CHANGELOG.md.github/ISSUE_TEMPLATE/bug_report.mdsrc/pydatk/__init__.pysrc/pydatk/finance.py- this will be my first module
File: .gitignore
I’ll add the following to the .gitignore file, to keep VS Code files out of the repo:
# *** custom ***
.vscode/

# *** github default below this line ***
At this point it’s a good idea to check that dist/ is in .gitignore (it should be by default). This directory will be created when the package is built.
Changelog
CHANGELOG.md (in the project root) is an important file that tells people what has changed between versions. Keep a Changelog covers this topic in detail.
I’ll add this content to CHANGELOG.md for the first version (there are some features here that I haven’t covered yet):
# Changelog

Changes to pydatk will be documented in this file.

Format is based on: [Keep a Changelog](https://keepachangelog.com/en/1.1.0/).

pydatk uses [Semantic Versioning](https://semver.org/spec/v2.0.0.html).

## [0.0.1] - 2025-06-08

### Added

- pydatk.finance.effective_rate(): Calculates effective interest rate from a given nominal rate and number of compounding periods.
- Bug report template: .github/ISSUE_TEMPLATE/bug_report.md
- Documentation: docs
- Tests: tests
- Changelog: CHANGELOG.md
Bug report
As mentioned in the issues section, I’ll create this file as a custom bug report template: .github/ISSUE_TEMPLATE/bug_report.md
GitHub will recognise the file automatically and create the template, which users can select when they raise an issue. This will happen when the code is merged to the main branch in a future post.
This is the content of my issue template:
---
name: Issue
about: Report an issue with pydatk
---

**Describe the issue**
_A short, clear description of the issue._

**Steps to Reproduce**
_Exact steps to reproduce the issue. A code/data sample would be useful (do not include private, confidential or copyrighted information)._

**Expected behavior**
_What did you expect to happen?_

**Actual behavior**
_What actually happens?_

**Environment**
_Some information about your system would be useful._

- OS:
- Python version:
- pydatk version:
File: pyproject.toml
The pyproject.toml file contains the package configuration used for the build and in PyPI or pip metadata.
I’ll cover the actual build in a future post.
Warning
Your configuration will be different and there are too many options to cover in detail. I’ll include my settings and a brief explanation, but recommend reading Packaging Python Projects in depth.
[build-system]
requires = ["setuptools >= 80.9.0"]
build-backend = "setuptools.build_meta"

[project]
name = "pydatk"
version = "0.0.1"
authors = [
  { name="pydatk", email="[email protected]" },
]
description = "pydatk"
readme = "README.md"
requires-python = ">=3.13"
classifiers = [
    "Programming Language :: Python :: 3",
    "Operating System :: OS Independent",
]
license = "GPL-3.0-or-later"
license-files = ["LICEN[CS]E*"]

[project.urls]
Homepage = "https://www.pydatk.com"
Documentation = "https://www.pydatk.com"
Repository = "https://github.com/pydatk/pydatk"
Discussion = "https://github.com/pydatk/pydatk/discussions"
Issues = "https://github.com/pydatk/pydatk/issues"
Changelog = "https://github.com/pydatk/pydatk/blob/main/CHANGELOG.md"build-system: Specifies the build backend to be used when building the package [1].requires: Build backend package and version (get the installed version frompip show setuptools).build-backend: Build backend.
projectname: Distribution name (as it will appear in PyPi)version: The package version. I’m using Semantic Versioning.authors: Name and email for each author.description: Brief description of the package.readme: Path to the package’s readme information (in this caseREADME.mdin the project root).requires-python: Version(s) of Python supported by the package.classifiers: Example includes information about target platform (Python version 3, any operating system).license: The license used by the package.license-files: Identifies the license file (in this case,LICENSE).
project.urls: Links to project information.Homepage: Project homepage.Documentation: Documentation (API reference).Repository: Github repo.Discussion: Github discussion.Issues: Github issues.Changelog: This is a link to the file covered in the Changelog section and hosted in the GitHubmainbranch. It will appear after the firstqatomainmerge (first build/production release).
Read me
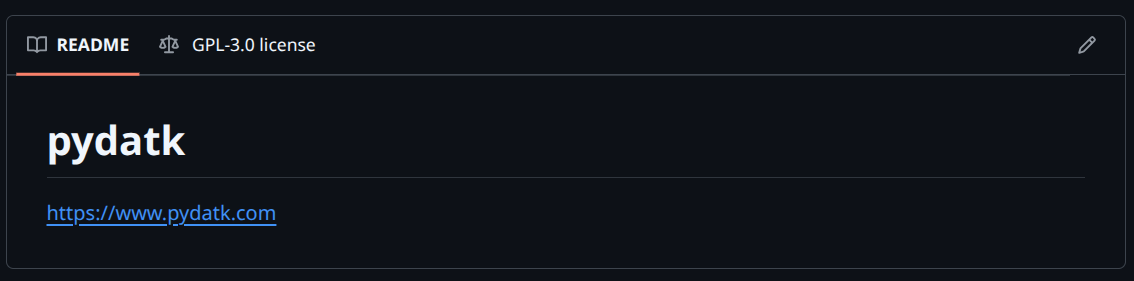
Finally - the README.md file, a markdown file containing key information about the package (eventually… just the website address for now):
# pydatk

https://www.pydatk.com
Here’s how it looks in GitHub:
Summary
In this post, I’ve covered GitHub repo setup, environments, a basic release process and package setup.
Next week’s post will be about creating the package’s first feature.
References
[1]
“Build backend.” Accessed: Jun. 02, 2025. [Online]. Available: https://packaging.python.org/en/latest/glossary/#term-Build-Backend